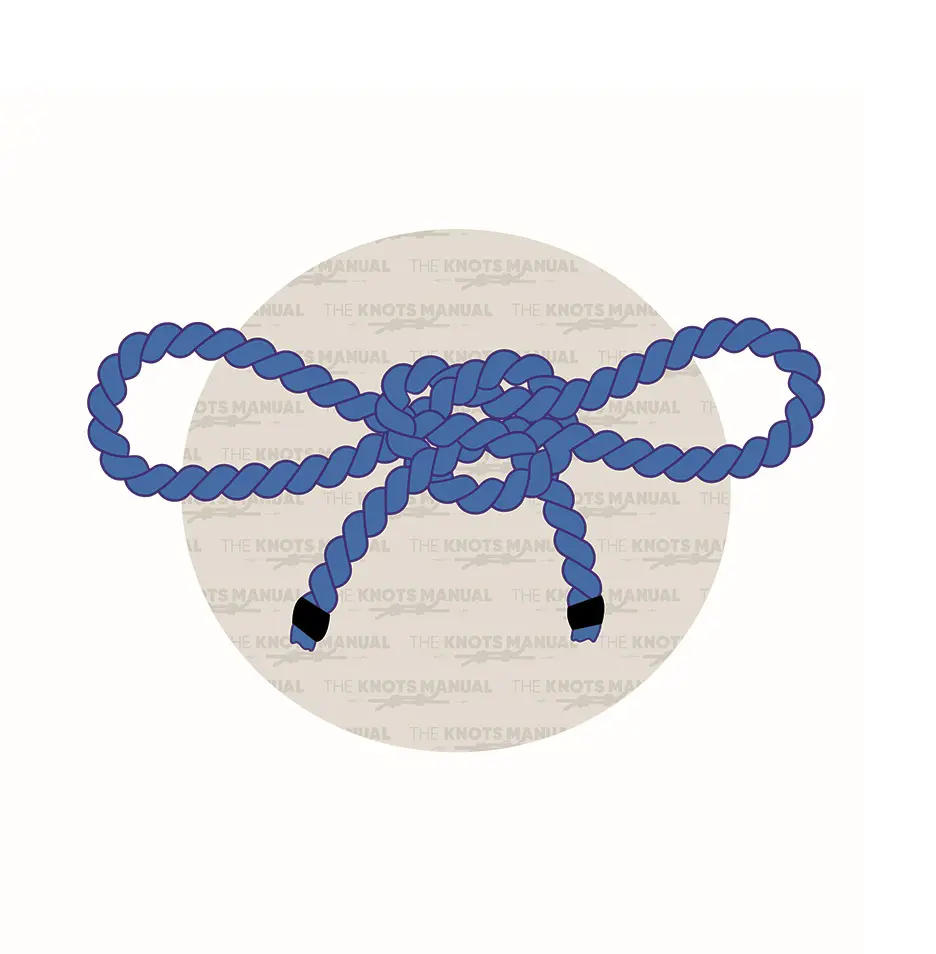
A loop knot is formed by doubling over a line at the end and tying both thicknesses into a square knot, resulting in a loop. Though fishermen use a variety of loop knots, the non-slip mono loop is perhaps the simplest to master and one of the strongest as well.
Lures and flies have a greater range of motion when tied with a loop knot because they may easily glide around on it. A loop knot also improves a lure or fly's capacity to rotate and move laterally, so each twitch or strip causes them to dance relatively more than if they were firmly tied with a Palomar or uni knot.
1. Overhand Loop
The overhand loop knot provides a quick and easy method of forming a fixed loop at the end of a line or anywhere in a rope by forming a bight at the desired location. The knot jams tight and is difficult to untie after it has been pulled tight.
The best thing about using this knot and method to attach two lengths of the line is that if you push the knots together after the loops have been joined together, you can thread the hook length out from the mainline loop making it quick and easy to switch to either a thinner or a thicker hook length in seconds.
Step-by-step guide on tieing overhand loop:
- STEP 1: Simply double your mainline to make a large loop.
- STEP 2: Fold the loop over to make another loop.
- STEP 3: Pass the 1st loop at least twice through the 2nd loop.
- STEP 4: Moisten the knot a bit with your saliva and securely pull it tight and then just trim the knot and you are done.
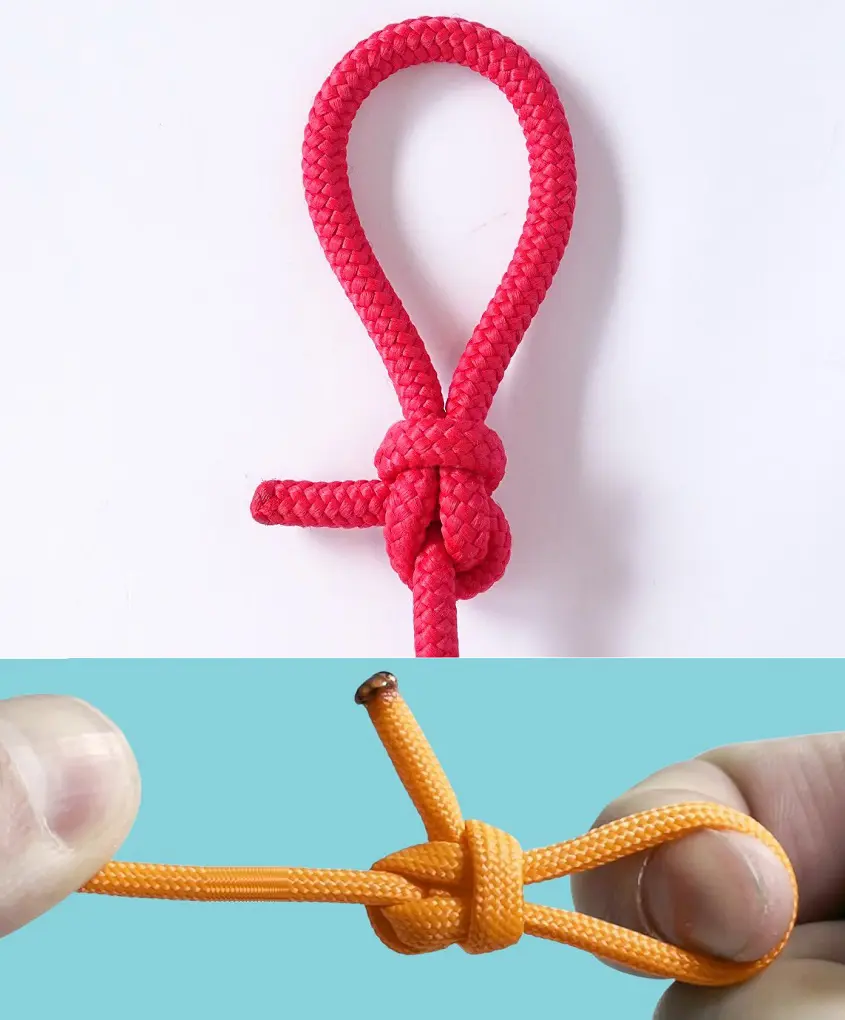
2. Non-slip Mono Loop
Another popular loop knot, the Non-Slip Mono Loop, is an extremely strong loop knot that lets a fly hang free at the tippet connection. It's most useful in a monofilament smaller than 20 lb test.
Step-by-step guide on tieing Non-slip Mono Loop:
- STEP 1: Before you do anything with the fly, tie an overhand knot in its leader. In this scenario, you should leave roughly ten inches of tag end. Do not tighten the loop. Thread the tag end of the leader through the hook eye.
- STEP 2: Now, simply, thread the tag end back through the overhand knot, ensuring that it enters the loop produced by the overhand knot on the same side as it emerged when you knotted the overhand. The distance between the fly and the overhand knot defines the size of your loop, so move the knot up or down the standing section of the leader until you reach the desired distance.
- STEP 3: Wrap the tag end around the standing portion of the leader, exactly like a clinch knot, then, make 6 rounds for materials weighing less than 8 pounds, and 5 turns for materials weighing up to 40 pounds.
3. Bowline
The bowline knot is one of the best to start with as it is one of the essential boat knots. It is a popular knot among fishers because it forms a strong loop that can resist tremendous pressure from a load while being easy to untie.
Step-by-step guide on tieing bowline knot:
- STEP 1: You need to create an overhand loop in the upright part of a rope.
- STEP 2: Hand the tag end via the rope loop.
- STEP 3: Pass the tag end after the standing part & through the loop again going in the contrasting direction.
- STEP 4: Keep the loop and tag end, and pull securely to tighten it.
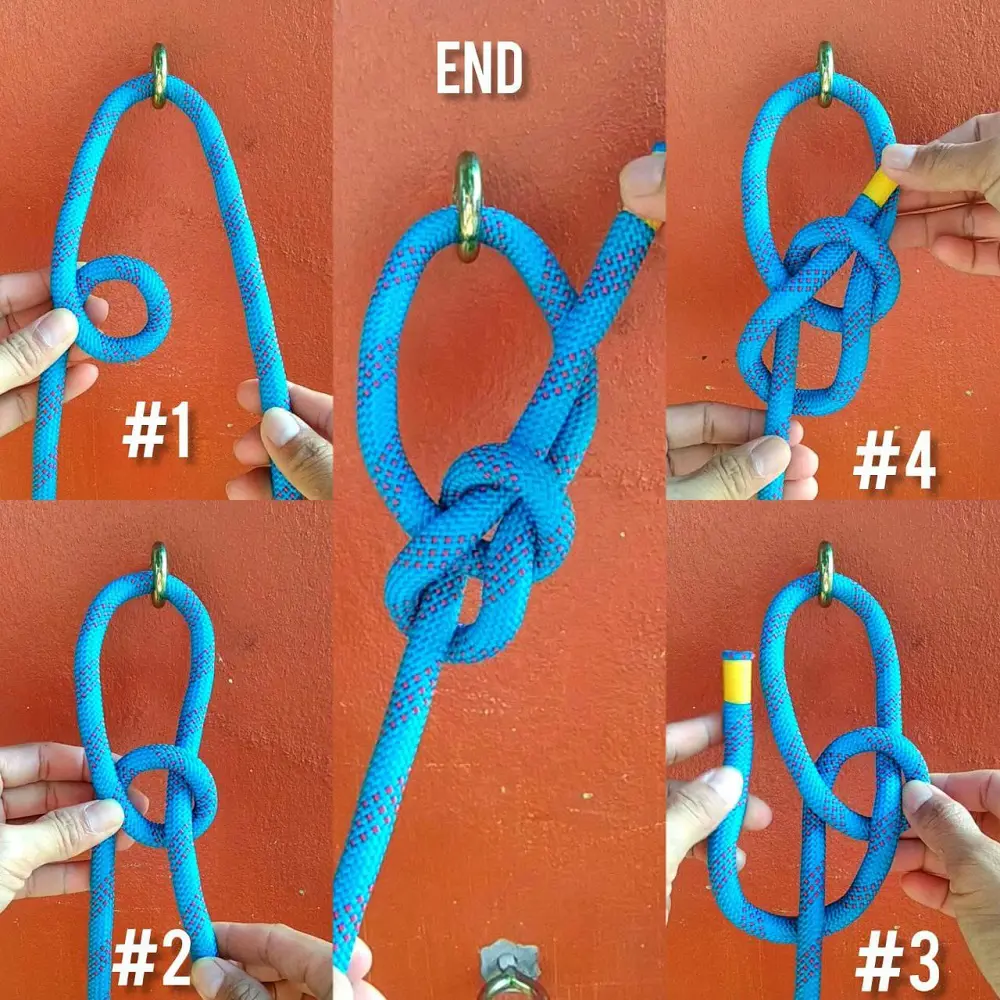
4. Figure Eight Loop
The best part about using the figure eight loop knot and method to connect two lengths of the line is that if you push the knots together after the loops have been joined, you can thread the hook length out from the mainline loop, making it quick and easy to switch to a thinner or thicker hook length in seconds.
Step-by-step guide on tieing figure eight loop:
- STEP 1: Firstly, fold your mainline into a loop.
- STEP 2: Then, simply fold it around across itself.
- STEP 3: Wrap the loop around the back of the folded lines and thread it back into the main loop.
- STEP 4: Adjust the knot size, then moisten the line, and tease it together while pulling on the loop, mainline, and tag end at the same period.
Watch this video, if you are still confused on how to tie Figure Eight Loop:
5. Butterfly Loop
The Alpine Butterfly Loop is more durable than the Bowline on a Bight and the Figure 8 Loop, both of which can rollover. Even with a high load, the Alpine Butterfly Loop is rather precise to reverse. It's also somewhat easier to knot and more compact than the Farmer's Loop.
Step-by-step guide on tieing butterfly loop knot:
- Step 1: Start with a loop in the rope.
- Step 2: Bend the loop so it becomes two loops, now simply pull the top of the upper loop behind and under the line of the rope.
- Step 3: After that, push the now lower loop via the initial 1st loop.
- Step 4: Now just pull it tight securely.
6. Bowline on a Bight
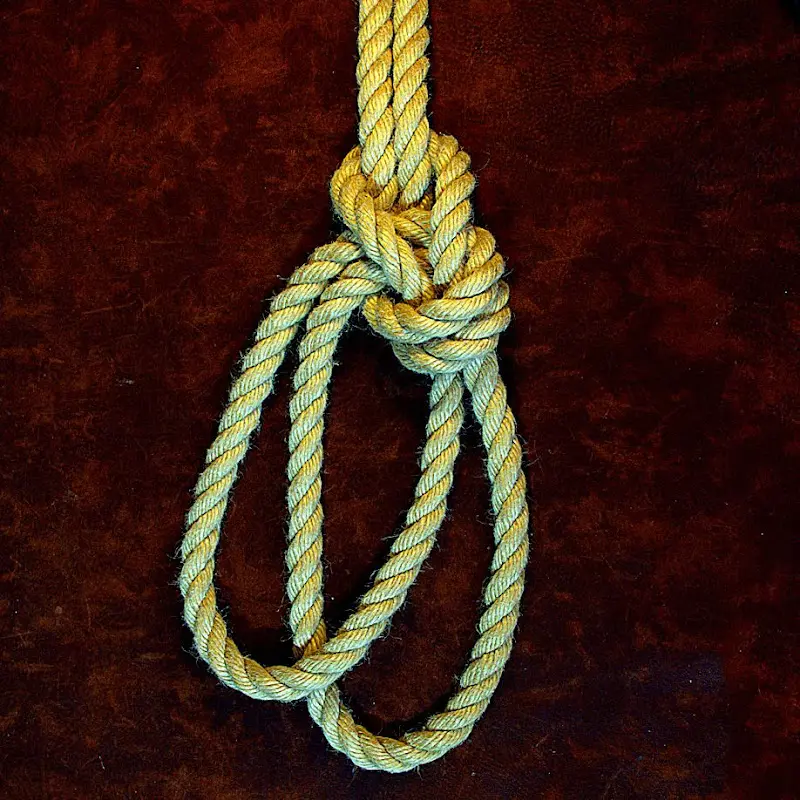
A bowline on a bight forms a secure loop in the center of a length of rope. It is a divergence of the bowline knot that appears similar but is constructed with only one strand of rope. If you wish to build a reliable loop when neither end of the line is available, you may easily count on this knot.
However, when connected to a climbing harness, its capacity to readily untie following a catastrophic fall elevates it above the figure eight knot. When employed, it should be reinforced by strong backup knots with long tail ends.
Step-by-step guide on tieing bowline on a bight knot:
- STEP 1: Create a loop by passing the end of a bight over the upright part.
- STEP 2: Pull it out via the loop thus created.
- STEP 3: Open up the bight and bring it around the whole knot.
- STEP 4: Resume to bring it up till it covers the standing ends.
- STEP 5: Hold the standing part & simply pull the loop downwards to tighten.
7. Double Surgeon's Loop
The surgeon's knot, which is usually referred to as the double surgeon's knot, is a useful tool for joining lines with different diameters. The double surgeon knot has a very high knot strength, making it one of the greatest fishing knots for connecting your leader to your main fishing line.
To tie an overhand knot, just learn how to tie two and then draw the leader through the knot each time. It's really easy to tie this knot. Discover how to create this simple knot to fasten your fishing line to your fly fishing leader or to join your tippet to it.
Step-by-step guide on tieing Double Surgeon's Loop knot:
- STEP 1: Fold over the edge of the line to make a double line, then tie a single overhand knot.
- STEP 2: Pass the loop through the hole in the overhand knot once again.
- STEP 3: Moisten the knot and tighten it.
8. Carrick Bend
The Carrick Bend is a great knot to connect two ropes, particularly large-diameter ropes and hawsers. It pulls up tight under load and, while losing its symmetrical design, remains secure. The tag ends can be grabbed to the standing lines for extra security.
Step-by-step guide on tieing Carrick bend knot:
- STEP 1: Form a basic loop with the larger size rope and lay the loop on top of and across the working end of the 2nd rope.
- STEP 2: It is important to note and remember the ordering: over, under, over, under, over, and pass the working end of the 2nd rope around the 1st loop and itself following the line.
- STEP 3: The ends come out of opposing sides of the knot. The knot loses its stunning symmetry when tightened.
- STEP 4: The ends should be seized to the standing parts if the ropes are enormous.
Watch this video to know how to tie Carrick Bend if you are still unclear:
9. Handcuff Knot
The handcuff knot, also known as the hobble knot, creates two loops on a piece of rope fastened in the center that can be utilized. Still, because it lacks an intrinsic locking action, it cannot be employed consistently for the stated restricting function.
Yet, it may be successfully locked by tying a single or many overhand knots with the loose ends. It is quick and simple to tie and may be created from rope, strings, lines, paracord, or webbing.
Step-by-step guide on tieing handcuff knot:
- STEP 1: First and foremost, create two loops in the standing part of the rope.
- STEP 2: Then, overlap the loops & pass them through each other by their opposing edges.
- STEP 3: Holding the standing ends of the rope, now pull the loops outer to the preferred size.
- STEP 4: Lastly, just pull the standing ends of the rope to tighten the knot.
10. Midshipman’s Hitch Knot
The Midshipman's Hitch Knot, also known as the Taut-line hitch, Adjustable hitch, Rigger's hitch, Tent-line hitch, or Tent hitch, is an effective knot for creating an adjustable loop at the end of a rope. The knot may be moved up and down the standing line to change the size of the loop (and hence the length and/or tightness of the standing line), but when the weight is applied, the knot remains secure.
Even when carrying a load, the Midshipman's Hitch Knot is simple to tie or untie. The Midshipman's Hitch Knot is superior to the "Taut Line" because it forms the beneficial intermediate Awning Hitch, which reduces strain while tying the final Half Hitch and makes the entire hitch more stable.
Step-by-step guide on tieing Midshipman's hitch knot:
- STEP 1: Firstly, loop the rope around the object.
- STEP 2: Secondly, pass the working end around the standing end.
- STEP 3: Then, pass it around once more but make sure besides the first turn away from the object.
- STEP 4: Now, pull it tight, as it then forms an Awning hitch that takes all the burden.
- STEP 5: Similarly, secure a half hitch around the standing end.
- STEP 6: Finally, tighten the knot and there you go.
To ensure that you've tied it correctly, make sure the tag end is facing the standing end rather than the other way around. The Taut line hitch is shown after the slide for comparison. To untie, first, loosen the half hitch knot, then the awning knot, and finally the overhand knot.
Watch how to tie Midshipman’s Hitch Knot easily:
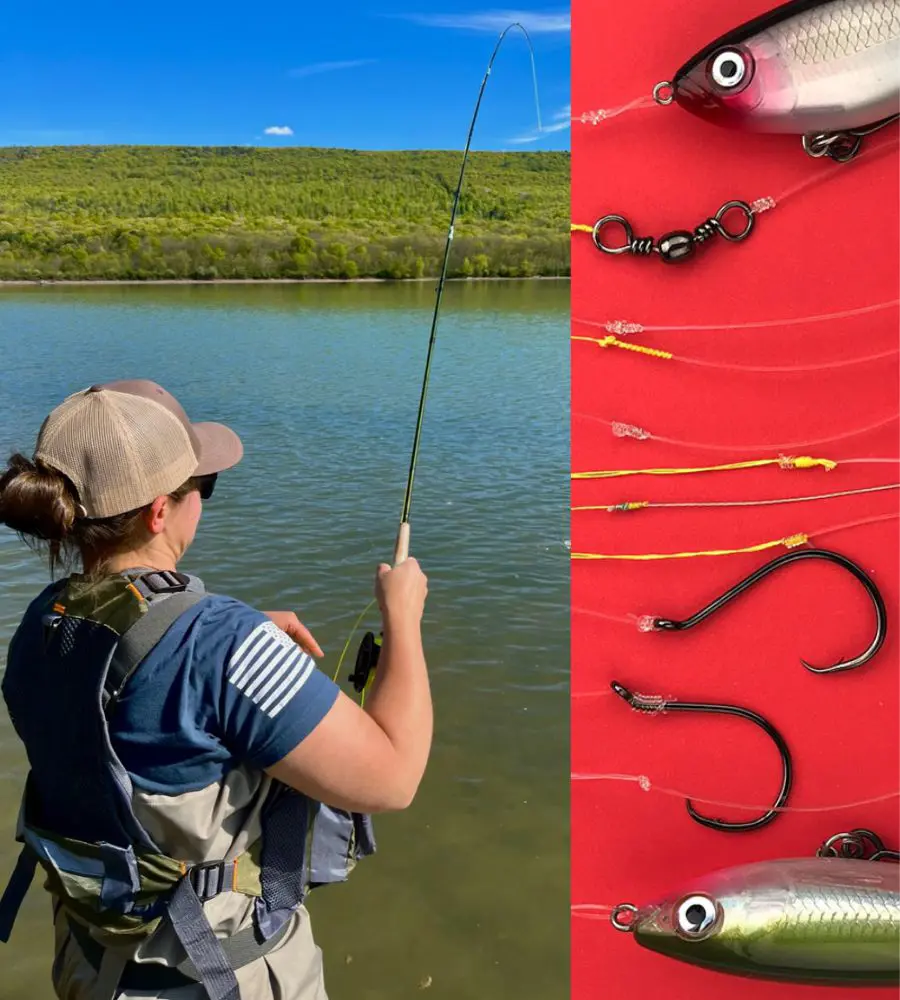
Loop Knot in Fishing
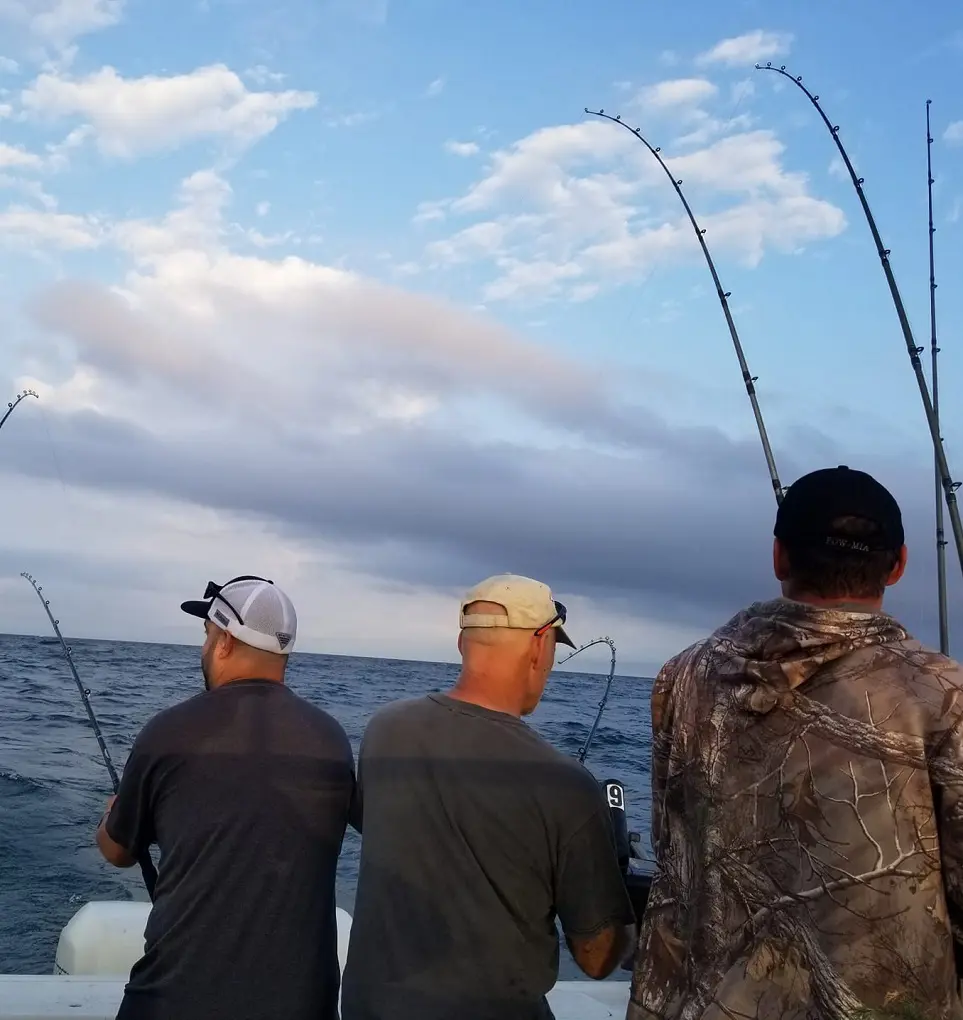
The loop knot's relevance stems from its capacity to form a loop at the end of a line, enabling for the rapid and easy attachment of lures, swivels, and other terminal equipment. This efficiency is especially important in fast-paced fishing scenarios where time is of the essence.
Furthermore, the loop knot creates a secure connection, reducing the possibility of line breakage during strikes or when battling heavy fish.
Benefits of Loop Knot:
Versatility
Talking about the benefits of loop knots, the loop knot may be utilized in a variety of fishing conditions. It is excellent for freshwater and saltwater fishing and can accommodate a variety of line types and weights. Whether you're casting lures for bass or trolling deep-sea lines for marlin, the loop knot can withstand the challenges of various fishing techniques.
Ease of Tying
If you compare the loop knots to other knots, the loop knot is quite easy to tie, especially for beginners who are just learning. Its easy procedures ensure that fishermen can quickly and properly form a secure loop, reducing time spent knot tying and increasing fishing time.
Reliability
The loop knot is popular among experienced fishermen due to its strength and durability. When properly knotted, the loop knot can endure high load stress without sliding or breaking. This will help anglers focus on their fishing techniques and tactics with confidence in the knot's holding ability.
Compatibility
The loop knot is suitable for a variety of terminal tackle elements, that include lures, swivels, as well as leaders. Hence, its ability to accommodate various types of equipment makes it an invaluable tool for fishermen who constantly swap between fishing rigs or setups. These are just a few of loop knot's benefits as there are a lot more.